Getting Started
Maps
Your Account
Adding Data
Style Data on Your Map
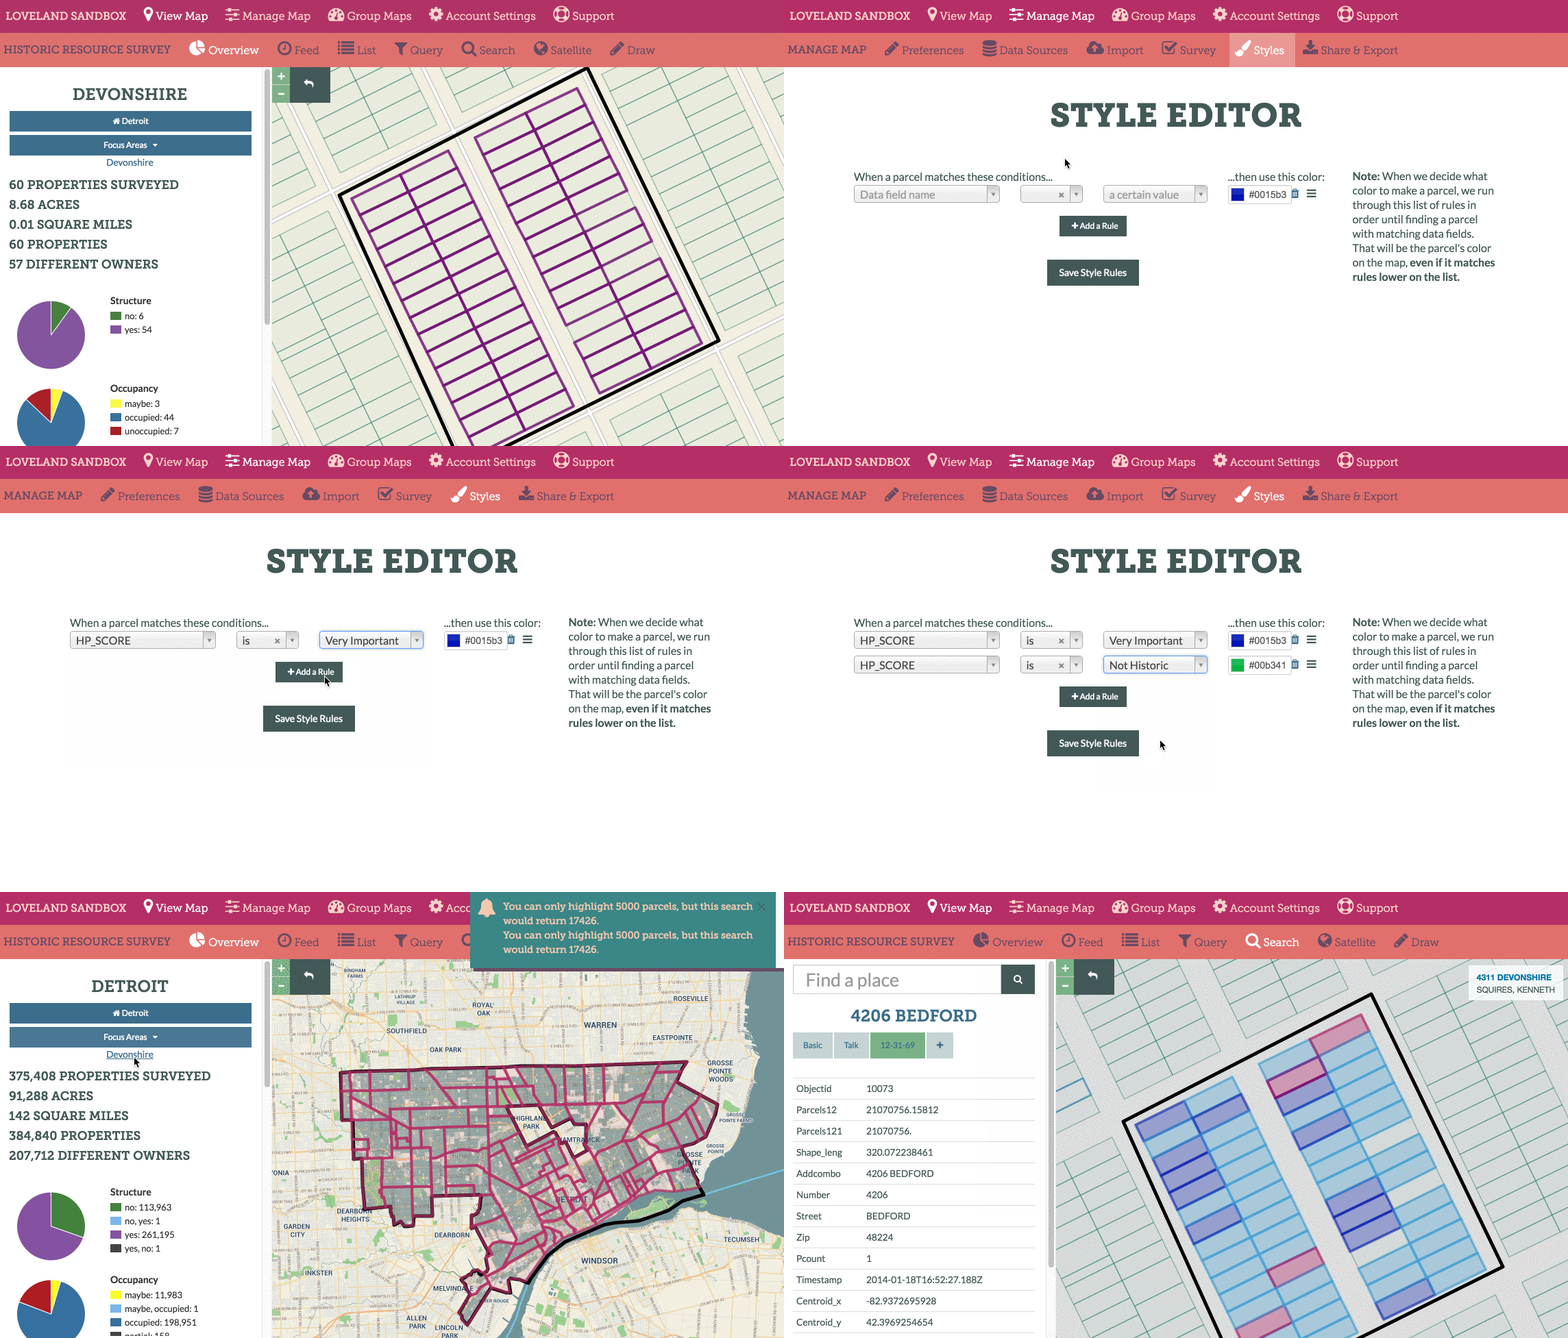
If you want to create a parcel map color coded based on data in your account (either survey data or imported data) you can do so by creating Styles rules. Styles rules will apply to your entire map. You can change your Styles at any time.
Styles rules are matched to parcels sequentially based on the top to bottom order in your map’s Styles area. That means if you create a set of Styles rules that includes two color codes, both of which match parcels on your map, the parcels will be highlighted ONLY by the color rule you defined first. Any parcel with imported data not covered by a Styles rule will show up in the “default” color, which you can also designate.
For example:
Say I have a parcel with the address 555 Fake Street that has two data fields:
Condition: Good
Occupancy: Vacant
If I go to my Styles area and set Condition = Good to color parcels in Green, and then set another rule to color Occupancy = Vacant parcels in Red, then my 555 Fake Street parcel will ONLY color in Green – it matches both rules, but the Condition rule is set first, so that’s the color that will be applied.
A legend at the bottom of the screen will explain your style rules, pulling information from your spreadsheet according to your Styles rules. If you plan to share your map (See “Share a Map”), you may want to check that your column headers and cell contents are easily comprehensible before importing the data.
If you want to search your data in a way that will show all properties that match BOTH Condition = Good AND Occupancy = Vacant, then skip to Query to learn about searching multiple criteria in a Site Control map.
Below is an animation showing an example of setting Styles rules:

